
In the sprawling, choice-riddled world of Avowed, every quest feels like a morality pop quiz where the answers are written in invisible ink. The game isn’t exactly going to shatter into a hundred alternate timelines based on a single decision, but it sure knows how to bribe your conscience with varying piles of loot. Take the Precious Light side quest—a deliciously tangled mess of smugglers, stolen goods, and one glowing chunk of magical rock. The real challenge? Figuring out who to double-cross for the shiniest rewards. Spoiler: being a little ruthless pays off, but let’s not get ahead of ourselves. How does one even stumble into this glittery drama?
The Quest That Starts with a Chatty Alchemist
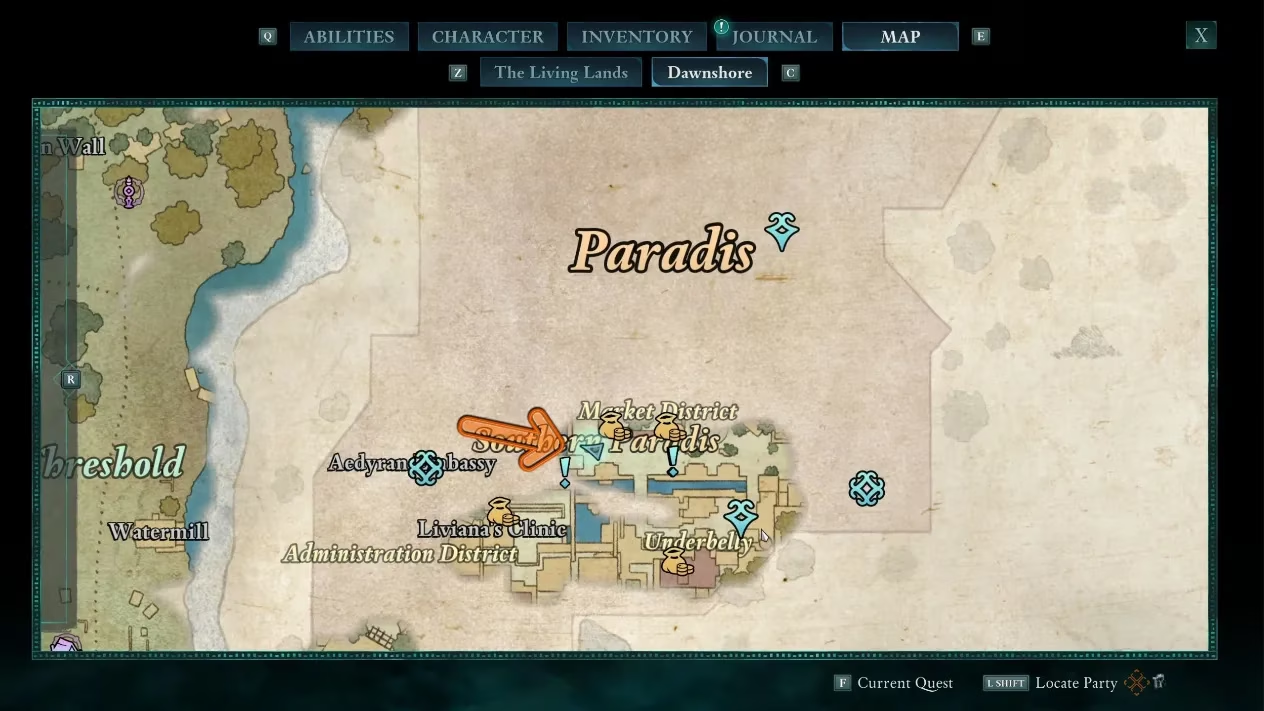
Before you can become the most feared (and over-geared) errand runner in Eora, you need to actually pick up the Precious Light quest. It’s nestled in Paradis City, right where the map label “Southern Paradis” sits. Look for Sapiento de Falva, an alchemist whose desperation practically oozes through the screen. He’s lost some Luminous Adra—a substance that glows so brightly it might as well be labeled “loot me.” After a brief conversation, you’ll be tasked with tracking it down. But Sapiento isn’t your typical quest giver with a red exclamation mark and a clear conscience; his leads are about as direct as a drunkard’s directions to the nearest tavern.
Gossip, Grease, and a Deserted Island
Your next move is a classic RPG trope: talk to a handful of NPCs scattered around Paradis. They’ll point you toward a smuggling operation that fled to Castol’s Folly, a jagged island brooding on the southern edge of Dawnshore. If you’re expecting a ferry service, lower those expectations. The island is ringed by massive, unscalable walls, making it look like nature’s own maximum-security prison.
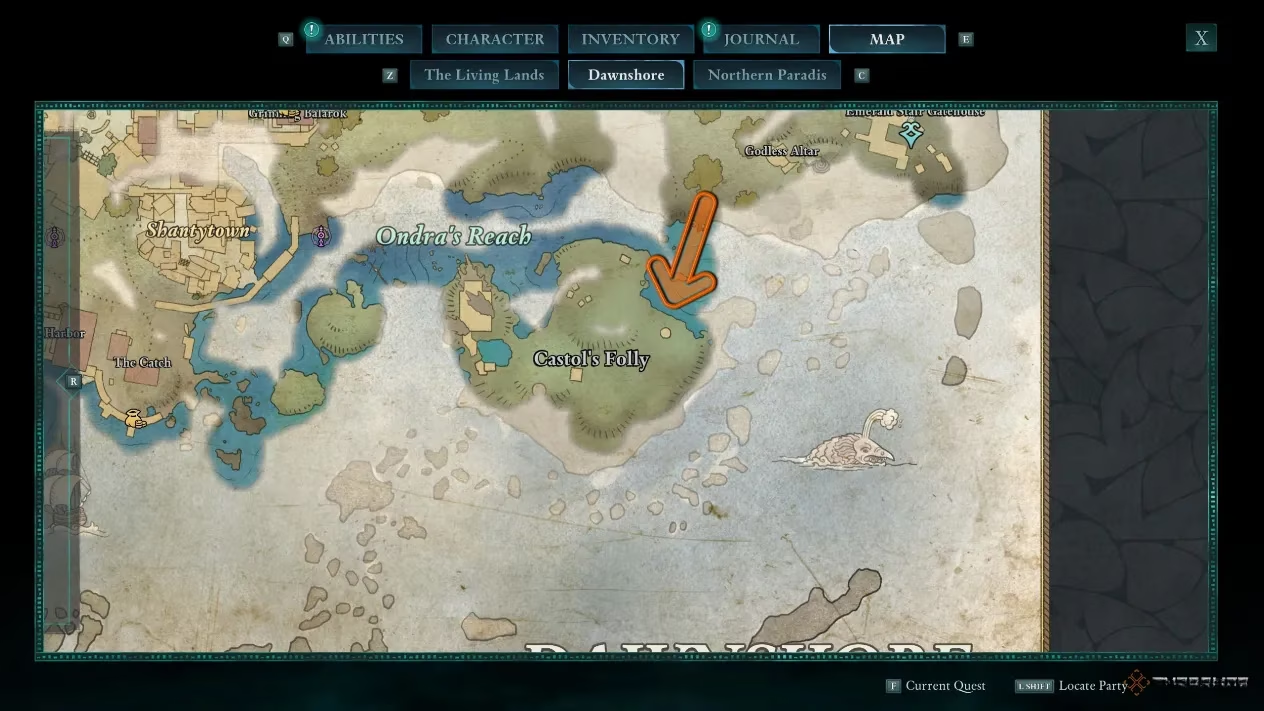
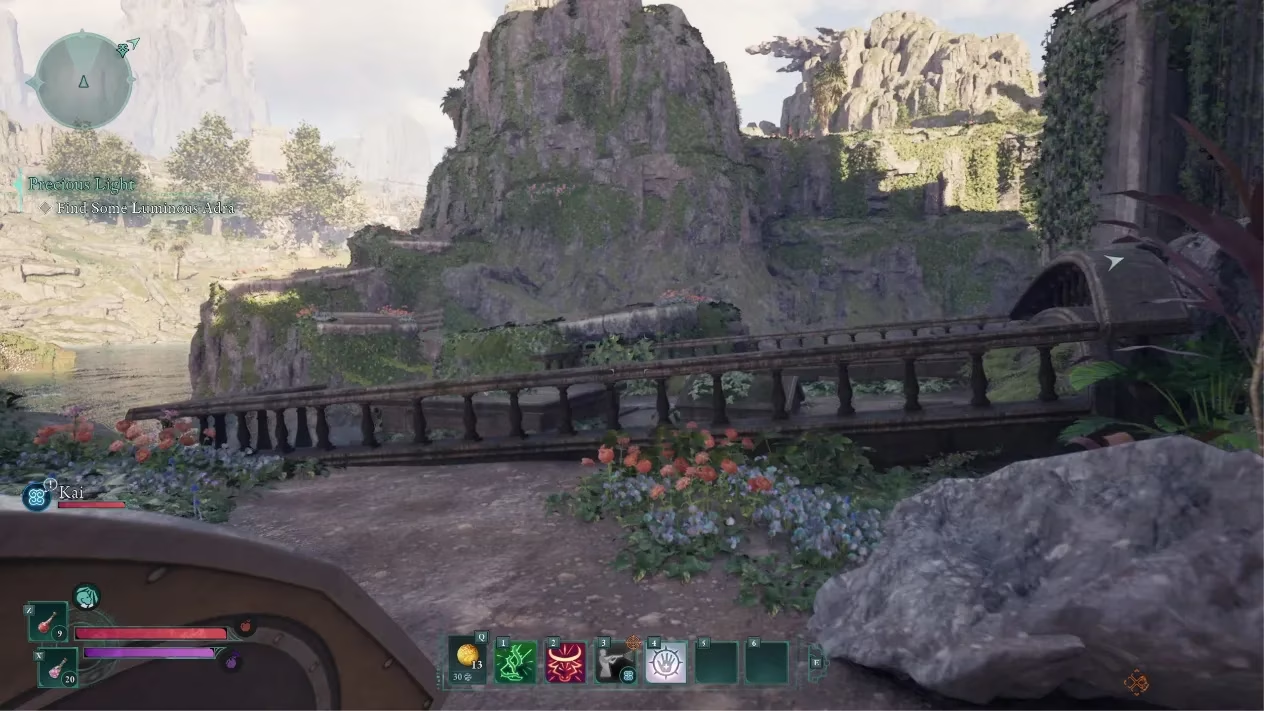
Here’s where the adventuring gets physical. Head to the shipwreck on the northwestern edge of the island. Clamber to the top of that rotting hull, and you’ll spot a series of rock formations jutting out like a giant’s forgotten staircase. Leap across and you’ll land on a hidden path. Follow it, slice through a few smugglers who apparently never learned to look up, and you’ll reach a fork. At this point, the game tests your navigational skills with a simple rule: take a left. More enemies wait, but they’re just padding for the real confrontation ahead.
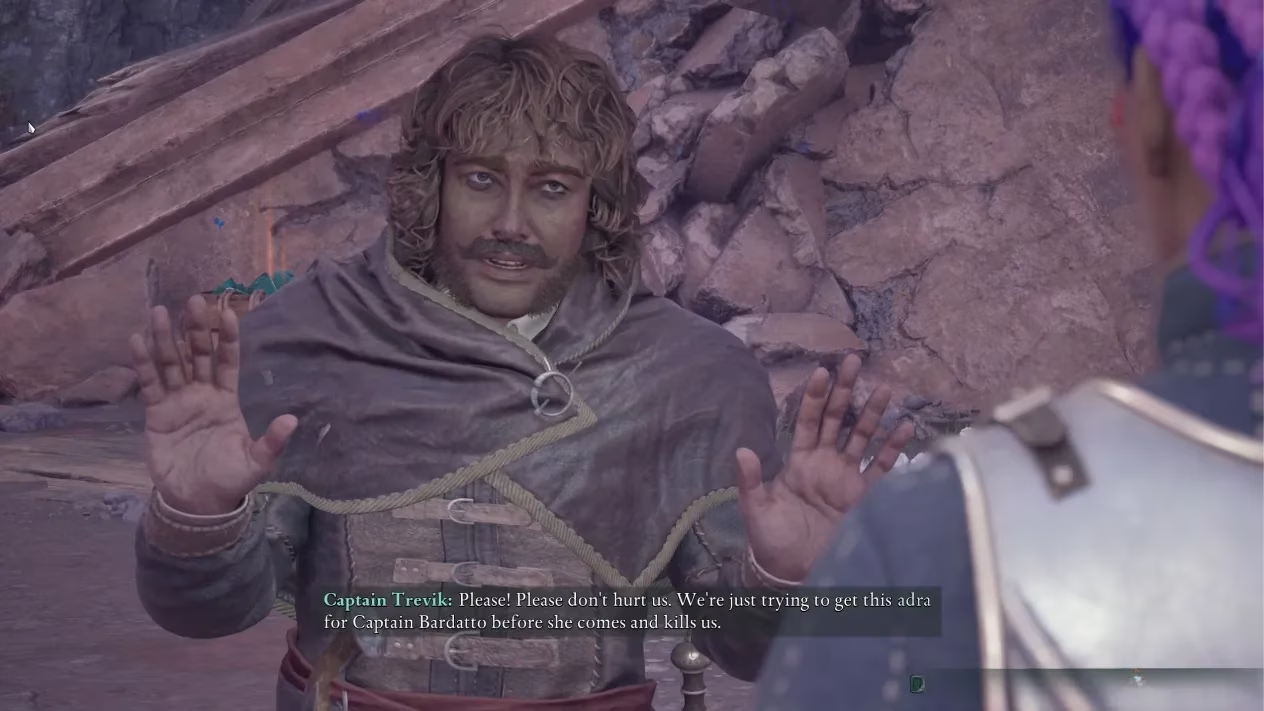
Finally, you’ll crest the top of the island and meet Captain Trevik, a man whose bravado evaporates the second he realizes you’re not a mail carrier. He’s got a sob story ready, and it’s actually useful: he and his crew stole Captain Bardatto’s Luminous Adra for Sapiento, but they lost the damn thing. Now Bardatto is breathing down their necks with a cutlass in one hand and a grudge in the other. Trevik offers you the adra—if you agree to handle the furious captain or simply let him off the hook. But let’s be real: you didn’t climb a shipwreck and slaughter half a smuggler gang just to play diplomat. Or did you?
The Luminous Adra Tango: Every Branch and Its Bribes
This is where the quest transforms into a flowchart of moral compromise and min-maxing. The adra is in your hands (or about to be), and three possible paths unfurl like a merchant’s inventory screen. Each one ends with different rewards, and only one makes your inner loot goblin truly happy.
Option 1: Battle Trevik and His Crew — Who needs words when you have a sharpened blade and a thirst for experience points? If you tell Trevik to stuff his deal, you’ll trigger a tough fight. The smugglers hit harder than the grunts you’ve already faced, but they drop extra loot: weapons, armor scraps, and the kind of pocket change that funds a hearty meal at the next tavern. After mopping the floor with them, you can waltz straight back to Sapiento and hand over the Luminous Adra. Your reward? A crisp 300-coin payment and The Fantastic Alembic, a trinket that any alchemy enthusiast would sell a kidney for. This is the greediest path, and it doesn’t even pretend to care about Trevik’s feelings.
Option 2: Take the Adra Peacefully, Then Choose Sapiento — Show mercy (or tactical laziness) and agree to Trevik’s plea. He hands over the glow-rock without a fight. If you immediately rush to Sapiento, you’ll receive the exact same rewards as the combat route: 300 coins and The Fantastic Alembic. But you’ll miss out on the bonus loot from Trevik’s corpse. So why ever pick this unless you’re roleplaying a pacifist who hates fun?
Option 3: Take the Adra Peacefully, Then Deliver to Captain Bardatto — Now this is where things get spicy. After sweet-talking Trevik, you can seek out Captain Bardatto herself. She’s not in a forgiving mood. She’ll give you a pair of sub-options:
-
Mercy: Ask Bardatto to leave Trevik and his crew alone. She’ll take the adra, and you’ll get… nothing but a warm fuzzy feeling. No coins, no trinket, not even a discount at her hypothetical future souvenir shop.
-
Profit: Accept 500 coins from Bardatto for the adra. The catch? She’ll almost certainly sail off to reduce Trevik’s life expectancy to zero. You get more immediate cash than Sapiento’s reward, but you forfeit the unique trinket and any loot from a fight.
Bonus Twist: Fight Captain Bardatto — If you suddenly decide Trevik is your new best friend, you can turn your weapons on Bardatto. Winning this battle nets you a Bloodstone gem, a rare upgrade material. But again, you’re leaving a trinket and a pile of coins on the table, which seems like poor financial planning in a world full of expensive enchantments.
So, Where Does Your Loyalty (and Greed) Lie?
Let’s put the numbers side by side, because nothing says “immersive role-playing” like a rewards comparison table:
| Choice Path | Coins | Unique Items | Extra Loot from Corpses | NPC Survival |
|---|---|---|---|---|
| Fight Trevik → Give Adra to Sapiento | 300 | The Fantastic Alembic | Yes (Trevik's crew) | Trevik dead, Bardatto irrelevant |
| Spare Trevik → Give Adra to Sapiento | 300 | The Fantastic Alembic | No | Trevik alive, Bardatto may seek revenge |
| Spare Trevik → Give Adra to Bardatto (mercy) | 0 | None | No | Trevik alive, Bardatto pacified |
| Spare Trevik → Give Adra to Bardatto (500 coins) | 500 | None | No | Trevik likely dead |
| Spare Trevik → Fight Bardatto | 0 | Bloodstone gem | No | Trevik alive, Bardatto dead |
If your eyes immediately locked onto the first row, congratulations—you have the soul of a true treasure hunter. The Fantastic Alembic is a one-of-a-kind trinket that boosts your potion-brewing efficiency, and 300 coins plus the spoils from the fight gives you the most tangible rewards. Sure, Trevik ends up as fish food, but would he have done the same for you? The game certainly doesn’t punish you for choosing violence, so why not let your sword do the negotiating?
The 500-coin Bardatto path is tempting for its higher immediate payout, but in the long run, 200 extra coins can’t buy back the missed trinket and the combat loot. And the mercy option? That’s for people who reload saves when an NPC frowns at them. You’re not that person, are you?
A Smuggler’s Tale, a Looter’s Paradise
Precious Light is a microcosm of what makes Avowed’s side content so delightful—no single decision sends the world spiraling into chaos, but the loot discrepancies make you feel like a clever mercenary when you game the system. The quest also sneaks in a lesson: never trust a smuggler who “lost” the very thing you’re hunting, and always check the bodies. This is 2026, after all; we’ve been conditioned by a decade of RPGs to know that glowing objects belong in our inventory, not in some sentimental back-and-forth between pirate captains.
So, grab your map, scale that shipwreck, and let your inner accountant guide your blade. Sapiento gets his precious Luminous Adra, you get a new trinket to tinker with, and somewhere in the Dawnshore waves, a batch of unlucky smugglers learns that holding onto stolen goods is a terrible retirement plan. It’s a win for everyone—except Trevik, but who’s counting?
Comments